Earth Day is on April 22nd, but you can celebrate all month (or year!) with these fun Earth Day crafts for kids. You don’t need any special materials for most of these, or any expensive equipment.
Have fun with these simple projects and feel free to make any modifications to the instructions! The fun part for kids is the process, more so than the results, so don’t worry if the end product isn’t perfect! Ours weren’t!
Check out more Earth Day celebrations in Charlotte!
Find all the best (and cheapest) kids’ activities on our list of upcoming kids’ events in Charlotte!
DIY Bird Feeder
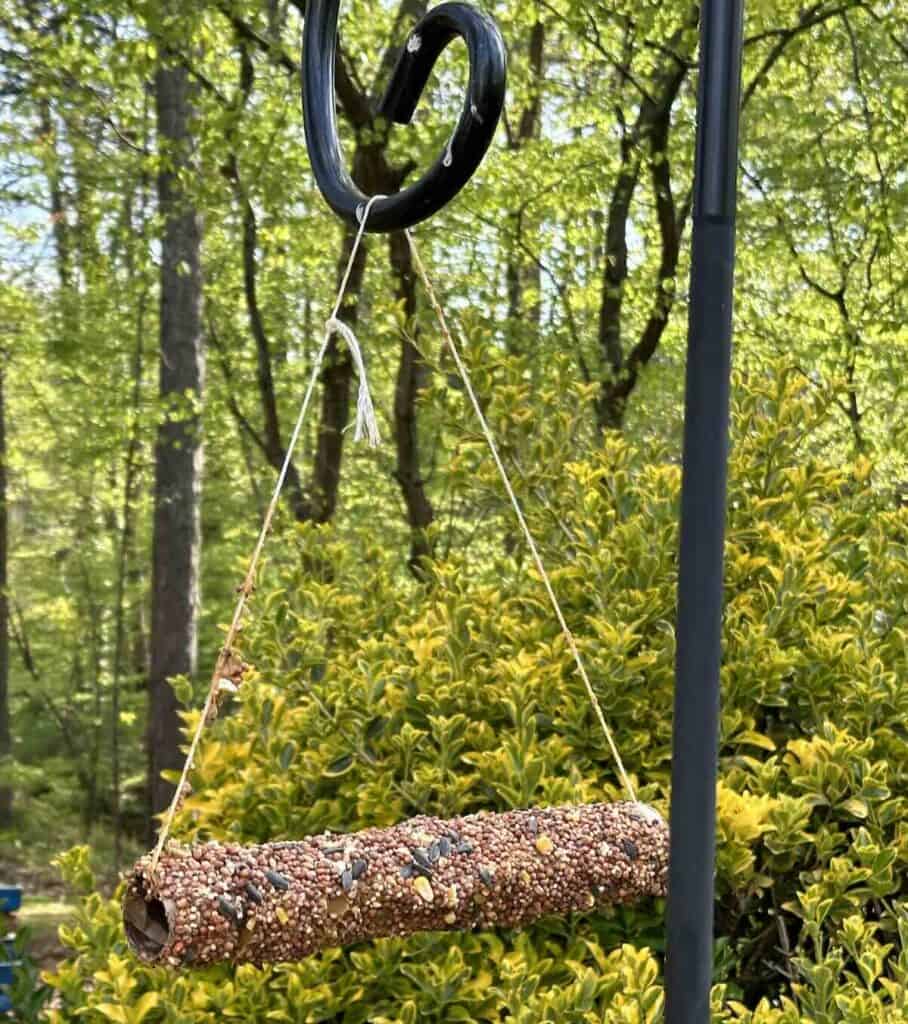
This is a time-tested fun and easy craft for kids. Of course, you can also make this with a pine cone instead of a paper towel roll.
Materials
- Smooth peanut butter
- Empty paper towel roll
- Birdseed
- String
Instructions
- Spread the peanut butter, fairly thickly, onto the tube.
- Coat the tube with birdseed.
- Roll on a plate or in your hands.
- Put a string through the tube and tie it on the top, so that the tube will hang down.
- Hang from a hook or tree branch.
Egg Carton Seed Starter
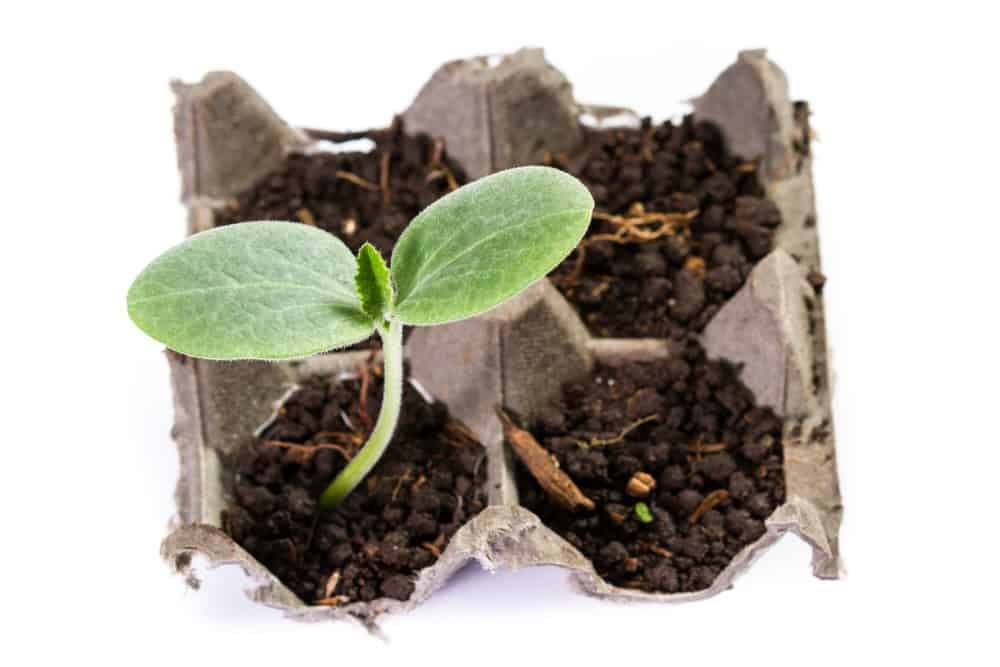
A seed starter is the perfect way to reuse a cardboard egg carton.
Materials
- Empty egg carton
- Potting soil
- Seeds
- Plastic wrap
Instructions
- Cut the lid off the egg carton. Set aside.
- Poke a small hole for drainage in the bottom of each egg compartment.
- Place the egg carton inside the lid.
- Fill each compartment up with potting soil.
- Plant a seed in each.
- Water.
- (Optional) Cover with plastic wrap to make a mini greenhouse.
Seed Bomb
Nature Walk Bracelet
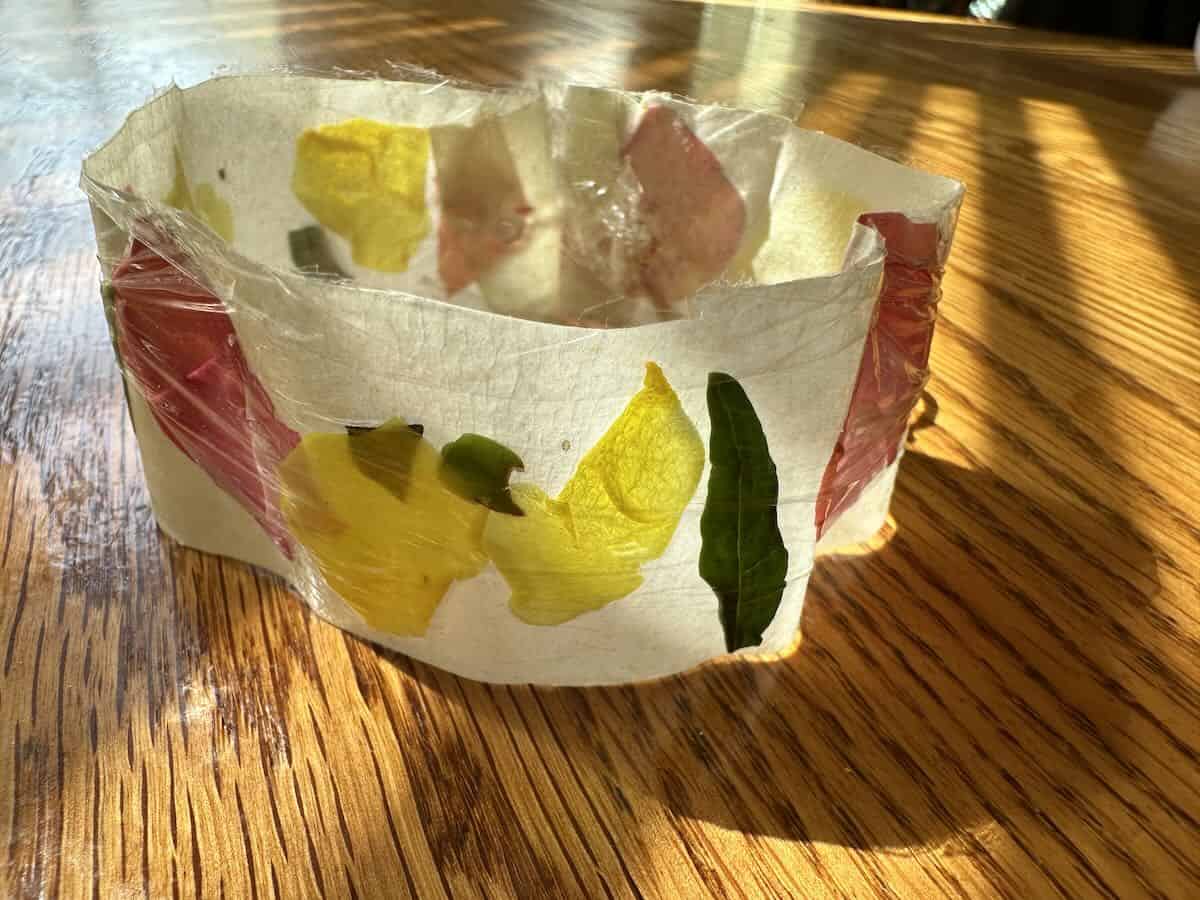
This is so simple and fun. Kids can decorate their bracelet on the go while on a nature walk, and will have a souvenir of their adventure.
Materials
- Masking tape or colored electrical tape
- Hole punch
- String
- Plastic wrap
Instructions
- Cut the tape to the size of your child’s wrist, plus one inch.
- With the sticky side up, fold ends under a couple times.
- Punch hole through each end.
- Tie string (around 5 inches) through each hole.
- Tie around your child’s wrist.
- Go on a nature walk and have your child stick items from nature onto the bracelet.
- When you get home, untie and remove the bracelet from your child’s wrist.
- Cover the sticky side of the bracelet with plastic wrap and trim excess.
- Now it’s ready to be worn as a souvenir and fashion accessory.
Leaf Print
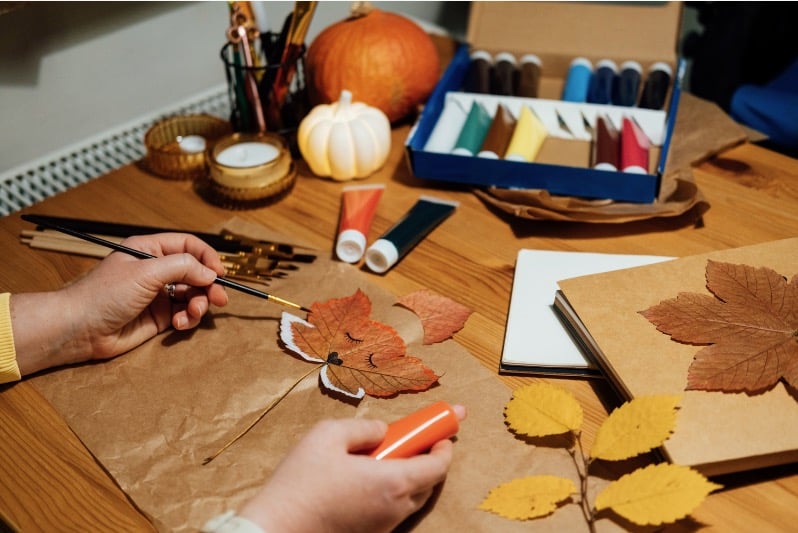
There are a lot of ways to make prints from nature. This is a super-easy way.
Materials
- Leaves with different shapes and patterns
- Tempera paint
- Paper plate
- Paintbrush
- Paper
Instructions
- Take a walk and collect various leaves.
- Brush paint onto leaves. (You’ll want to put newspaper under something else under the leaves to protect whatever surface you’re working on — but use washable paint!)
- Carefully place the leaves, paint side down, on your paper.
- Place another piece of paper on top of the leaf and press down firmly so that the paint gets transferred.
- Remove the top paper and leaf to reveal your print.
Earth Crayons
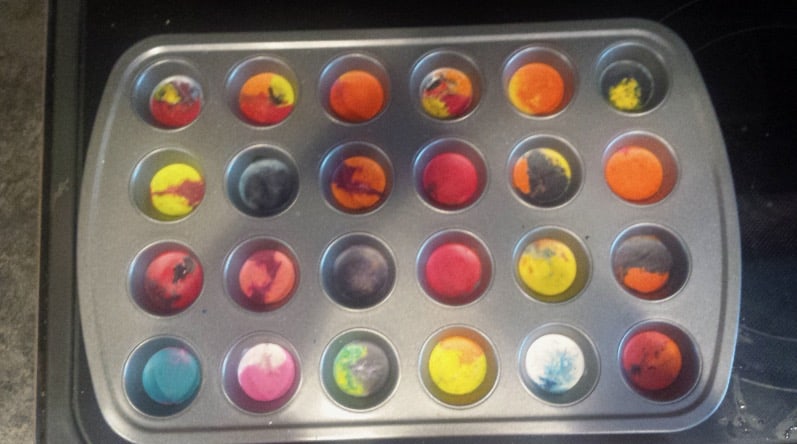
Take partially used crayons that are too small to hold to make these fun Earth Crayons.
Materials
- Blue, green and white crayons, with the paper removed
- Muffin tins
Instructions
- Break the crayons into small pieces.
- Put a few pieces of each color into each spot in the muffin tin. The more you add the thicker the crayon will be.
- Bake at 250°F for 15-20 minutes, until the crayons are melted.
- Remove the muffin tin (don’t let colors mix.)
- When it’s completely cooled down, pop each Earth Crayon out of the tin.
Instructions
- Paint the paper towel rolls and let dry.
- Cut out doors, roofs and windows from construction paper.
- Decorate them with markers.
- Glue the doors, roofs and windows to the painted towel rolls.
- For the doors you can partially cut the door shape from the paper towel roll so that it will actually open and close.
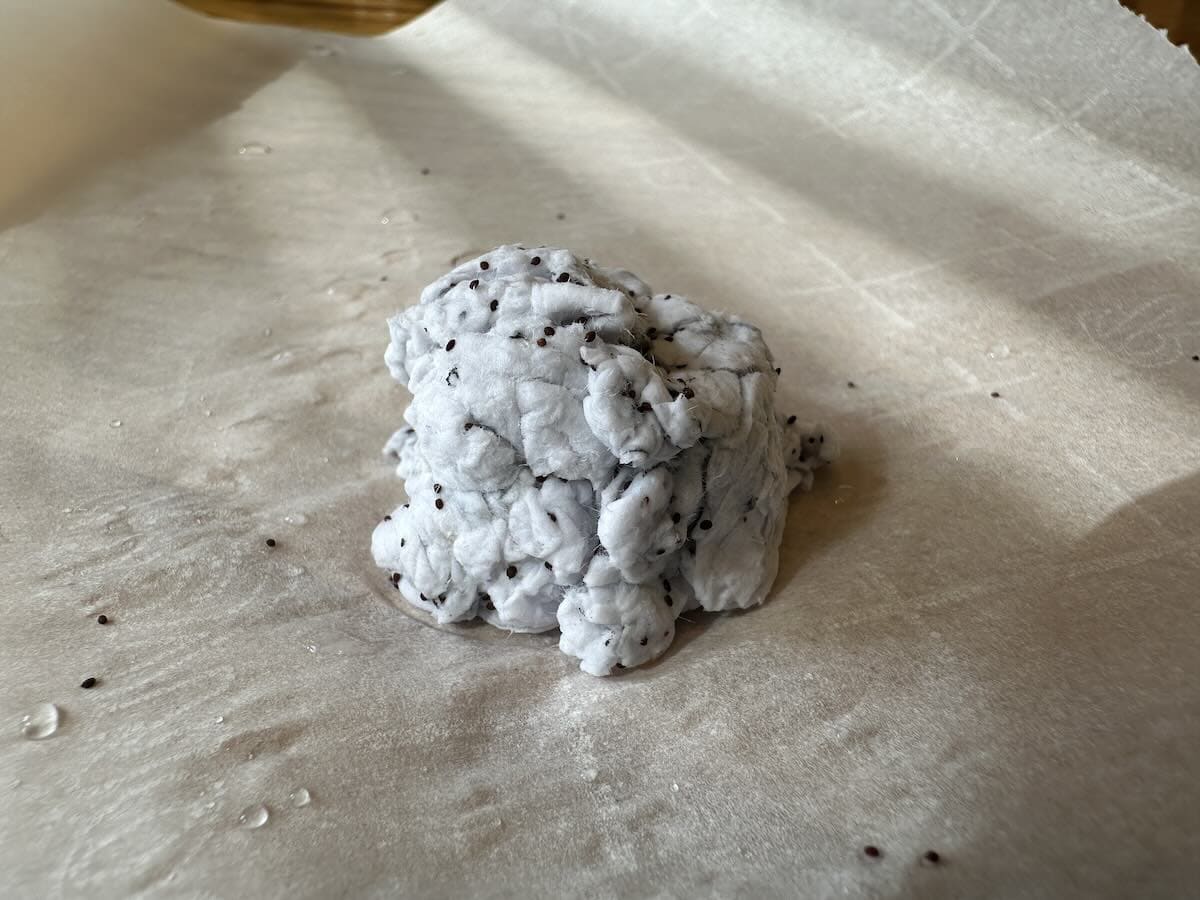
Seed bombs are easy to make and are a fun way for kids to plant wildflowers. The main component is paper, which will be cut up and then turned into a pulp in a food processor. Why not use some of that junk mail? Alternately you can use colored construction paper.
Another approach is to make Seed Paper. The process is the same, except you flatten the seed-filled pulp instead of making it into a ball.
Materials
- Packages of native wildflower seeds
- Paper
- Food processor, blender or food chopper (we find this little Ninja Food Chopper works fine, but an actual food processor would create a finer and more consistent pulp.)
- Small container
- Water
- Baking sheet and parchment paper (just for drying the seed bombs)
Instructions
- Cut paper into little pieces (1-inch squares are fine, but smaller is even better. Also you can use a shredder.)
- Put cut-up paper into a small container, cover with water, and let it soak for about 20 minutes.
- Remove the paper and squeeze out the liquid.
- Pulse in food processor until its a pulp. Put back into the container.
- Gently mix seeds into the pulp.
- Form into a ball.
- Let dry overnight on the parchment lined tray.
- Dig a hole and plant!
Nature Collage
There is plenty of material and inspiration in nature, so the only limit is your imagination. You can create a picture, depict something from nature, or ever your name.
Materials
- Leaves, flowers, sticks or other materials from nature
- Paper or cardboard
- Glue
Instructions
- Glue the objects onto the paper or cardboard to create a design.
CD Sun Catchers
Create shiny sun catchers from old CDs. You can also hang these from fruit trees to try to discourage birds from eating all the fruit (but good luck with that!)
Materials
- CDs
- Colorful paper or fabric
- Glue
- String
Instructions
- Glue cut up paper or fabric to shiny side of CD
- Tie a string to it and hang it outside as a sun catcher.
Flower Art from Upcycled Trash
It couldn’t be simpler to turn trash into pretty spring flowers.
Materials
- Paper (junk mail, construction paper, wrapping paper, etc.)
- Scissors
- Glue
- Cardboard
Instructions
- Cut flower shapes out of the various kinds of paper.
- Arrange and glue onto cardboard.
Build a City from Recycled Materials
The great thing about this project is that kids can play with it afterwards.
Materials
- Paper towel rolls, cut into sections (or use toilet paper rolls.)
- Paint
- Scissors
- Construction paper
- Markers
